Printed Packaging Scuffing: A Practical Troubleshooting Guide
A finish change is easier to justify when the defect can be reproduced. Start with the damaged pack and trace the contact that produced the mark.
To investigate printed packaging scuffing, first establish where the marks appear and at what stage. A pale rub on a flat panel is different from a white crack along a fold. Before changing the board or coating, keep marked and unmarked samples and record the handling conditions.
A photograph helps locate the damage, but rarely establishes whether the ink, finish or handling caused it. Compare samples from different stages and test the suspected contact before deciding what to change.
Separate surface rubbing from other damage
Describe the marks in detail. Is the surface scratched, polished, marked by transferred color or visibly worn through? Is the damage confined to a flat area, concentrated on corners or following a fold? Describe what is visible before assigning a cause.
Fold-related whitening belongs to a different investigation. The folding carton crease-cracking guide covers that problem. A carton can have both issues, but combining them under one complaint makes the supplier's response less precise.
Also distinguish an unwanted mark from the intended surface texture. Retain an approved reference and compare the same area under reasonably consistent viewing conditions. Without a reference, one reviewer may describe a matte appearance as damage while another focuses only on obvious ink removal.
Find the first stage where the mark is present
Separate samples by stage where possible: supplied flat cartons, erected cartons, product-filled packs, packed shipping cases and received goods. Record the condition of each group. If a mark is already visible before filling, changing the parcel shipper will not address its first appearance.
If the cartons are clean before case packing but marked afterward, examine the actual packing operation and contact surfaces. The investigation may include guides, belts, adjacent cartons, inserts or the inside of the shipping case. Look for contact that matches the location and direction of the marks.
Ask staff to preserve examples before reworking or wiping them. Cleaning can remove useful information about transfer or contact. Label the sample with the product version, packaging batch and point of collection so the supplier can connect it to production and handling records.
Map the contact pattern
A repeated mark in the same place can help narrow the inquiry. Compare its location with the way packs touch one another and the equipment. Look at orientation, movement and exposed printed surfaces instead of assuming the most visible finish is the cause.
| Observation | Question to investigate | Useful sample or record |
|---|---|---|
| Similar mark on the same panel | Does that area contact a guide, another pack or a case surface? | Marked pack with orientation recorded |
| Color on an adjacent surface | Is there transfer between the surfaces? | Both contact surfaces, kept together |
| Damage after case packing | What changed during loading, compression or movement? | Actual case-pack arrangement |
| Marks on only some batches | Did material, print, finish or handling differ? | Batch references and retained samples |
| Whitening following a fold | Is this fold cracking rather than flat-panel abrasion? | Erected carton showing the fold |
Keep the relevant pack, contact surface and batch record together so the supplier can investigate the same evidence.
Review the print and finish as a combination
Ask the converter to identify the board, ink system and surface finish used on the affected job. Compare these with the approved specification and any subsequent changes. A description such as “matte box” is not detailed enough to establish that two production runs used the same system.
Possible changes should be assessed against a defined concern. If the proposal is a different coating or lamination, ask what problem it is intended to address and whether it affects appearance, folding, gluing or other project requirements. A finish selected for its feel may not have been tested against the rubbing seen in this job.
The packaging finishes guide compares the broader options. For this job, compare alternatives against the specific contact and damage observed.
Agree on the abrasion test and acceptance criteria
ASTM's public description of D5264-98(2019) identifies a laboratory practice for comparing abrasion resistance of printed materials, including relevant packaging substrates. It can support a controlled comparison, but merely naming the method does not establish the acceptance criteria for a particular carton.
Have the buyer, supplier and testing provider agree on the test purpose, samples, conditions, acceptance criteria and reporting requirements. Identify the affected surface and the damage being assessed. Where a standardized method is required, the laboratory should follow the applicable procedure and identify it in the report.
This article does not reproduce the full ASTM procedure. Consider laboratory abrasion results alongside checks of the actual packed product.
Keep a practical comparison record
Use one record for each proposed change. Identify the current construction, the alternative and the variable being changed. Keep the artwork and other conditions constant where practical. List any differences that could affect the comparison.
Record the sample condition before and after the agreed comparison, with photographs taken in a consistent way. Include the viewing arrangement and the decision-maker. If the concern is readability, assess the affected information rather than only the overall attractiveness of the package.
Retain the samples as well as the pictures. A photograph may not show a change in gloss, a subtle surface texture or transferred material clearly enough for another reviewer. The physical reference is particularly useful if the production team and buyer disagree about whether the appearance is acceptable.
Recheck the pack-out rather than relying on a new coating
A surface change and a packing change answer different questions. Examine whether the actual arrangement allows unnecessary movement or persistent contact at a vulnerable printed area. Ask the supplier and fulfillment team to review the case count, orientation and any separation components together.
If tissue, dividers or wrapping are proposed, check whether they prevent the observed contact. Assess their own contact with the print as well as the extra material and packing work.
Once a candidate arrangement is chosen, repeat the relevant handling evaluation with the product inside. An empty carton and a filled pack may not behave alike. Record any unresolved damage before approving the change for production.
Decide what counts as acceptable before release
Describe the acceptable appearance in terms the people inspecting the pack can apply. Identify the important surfaces and the conditions under which the assessment is made. A reference sample can help, but it should be accompanied by the scope of what was approved.
Replace a vague instruction such as “no scratches” with agreed inspection conditions and an approved reference. State whether the concern is retail appearance, readable information or both. Put those criteria in the specification rather than relying on a claim that the finish is scuff-proof.
Send an investigation brief, not only a complaint photo
For a custom folding carton investigation, provide marked and unmarked samples, the affected panel, when the problem first appears, the existing finish and the actual pack-out. Include batch references and any known change since approval.
Use the contact page to describe the issue and arrange how to share the supporting material. Ask for a proposed investigation and comparison plan before requesting a blanket material replacement. The next sample should test a specific proposed change against the damage you documented.
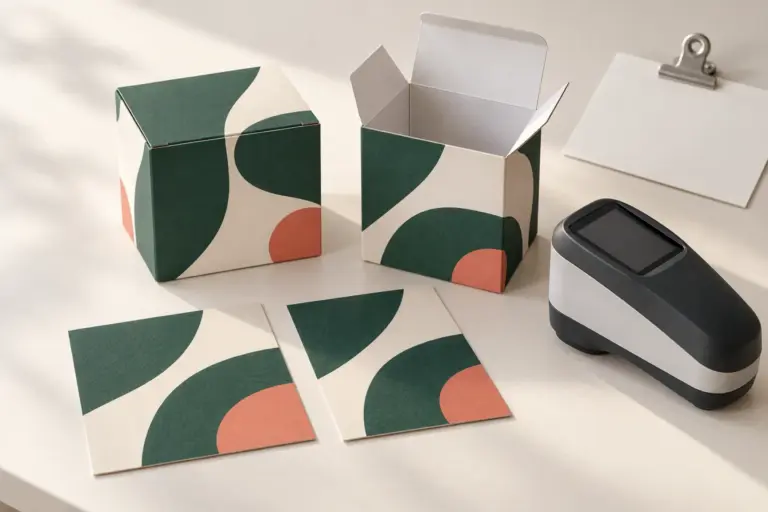
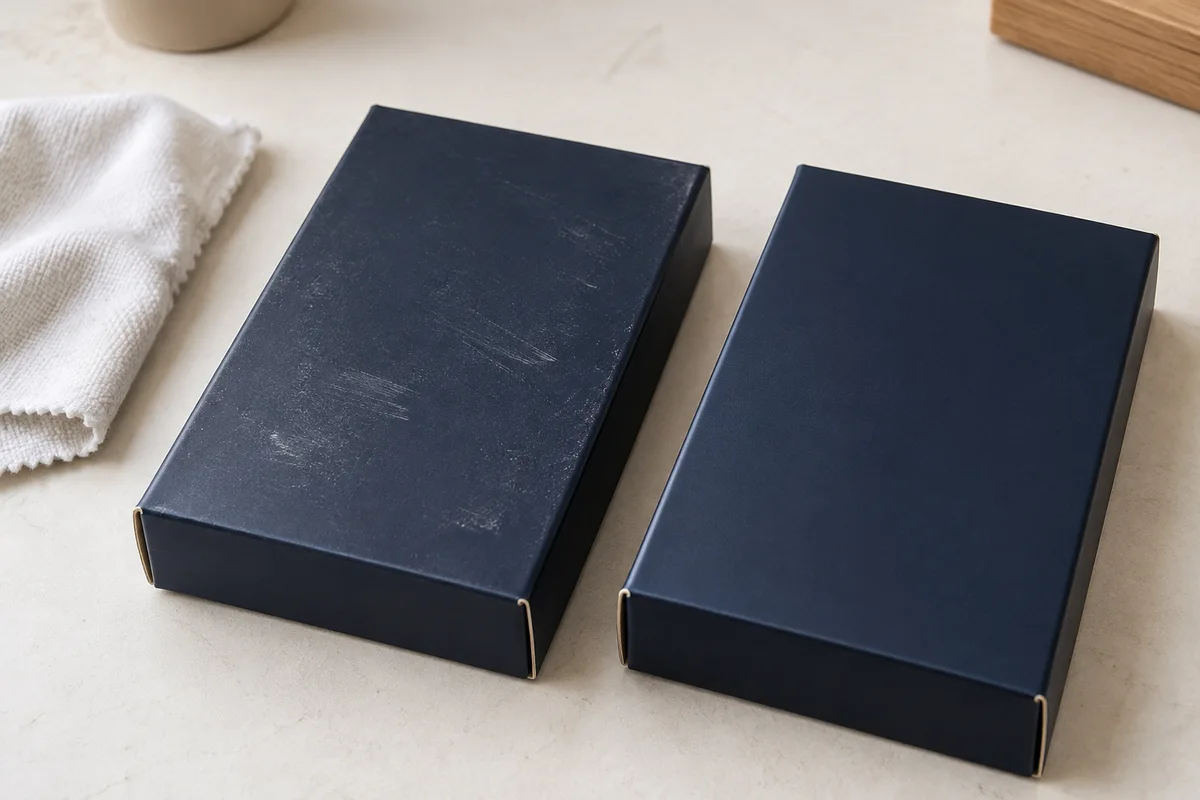
Image note: the featured marked and unmarked cartons are AI-generated illustrations, not laboratory specimens or before-and-after proof of a protective finish.