Custom Packaging Finishes: Foil, Embossing, Spot UV and Lamination
A practical guide to selecting and specifying foil, embossing, spot UV, varnish and lamination for custom paper packaging.
Quick answer: Custom packaging finishes should be chosen after the box structure, paper and print process are fixed. Foil creates metallic or pigmented contrast; embossing adds relief; spot UV adds selective gloss; varnish protects ink; lamination changes the whole surface. Each finish affects cost, registration, fold performance, scuff resistance, artwork setup and material claims.
A finish earns its cost when it reinforces visual hierarchy, improves handling performance or creates a deliberate tactile cue. It wastes budget when it is applied because a mood board looks “luxury.” The same gold foil behaves differently on coated paper, textured stock and soft-touch film. A deep emboss that looks impressive on a flat drawdown may crack near a carton score. Buyers should therefore specify finishes as manufacturing operations, not adjectives.
Set the foundation first
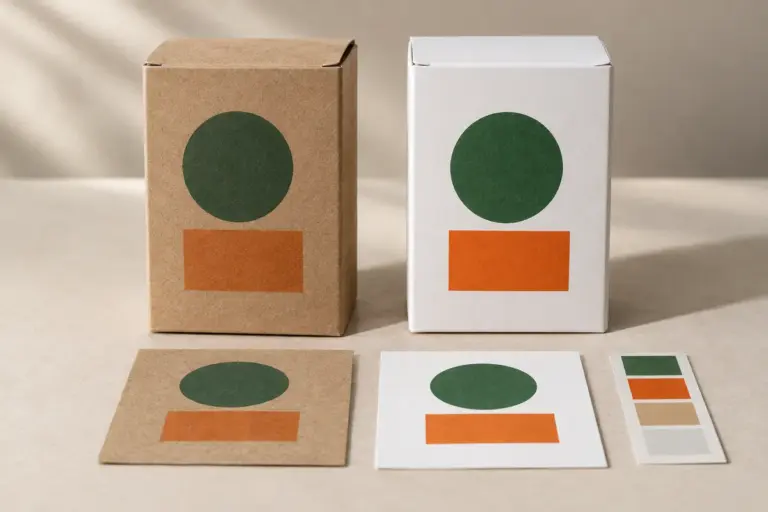
Before discussing foil color or gloss level, approve the packaging structure, substrate, print method and artwork hierarchy. The finish supplier needs to know whether the job is a folding carton, wrapped rigid box or litho-laminated corrugated mailer; whether the surface is coated, uncoated, kraft, textured or filmed; and where folds, seams and glue areas occur.
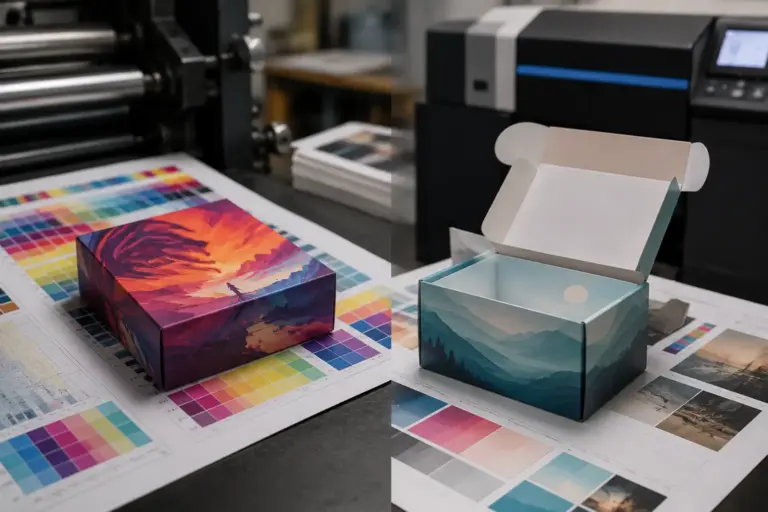
Request physical samples made on a similar substrate. A phone photo cannot communicate surface drag, gloss contrast, foil reflection or emboss depth. Compare samples under the lighting where the product will be sold and under neutral inspection light. Keep one signed reference after approval.
Finish comparison
| Finish | Primary effect | Best use | Common risk |
|---|---|---|---|
| Foil stamping | Metallic, holographic or pigmented accent | Logomark focal areas, borders, premium detail | Fine reverses, large solids, fold clearance, registration |
| Emboss/deboss | Raised or recessed relief | Tactile marks, patterns, understated premium cues | Paper cracking, show-through, loss of fine detail |
| Spot UV | Selective high-gloss contrast | Patterns and focal graphics over matte surfaces | Registration, rub, inconsistent gloss on texture |
| Varnish/coating | Ink protection and controlled sheen | Broad production protection | Rub resistance varies; glue areas need planning |
| Film lamination | Full-surface feel and protection | Matte, gloss or soft-touch presentation | Scuffing, delamination, fold behavior, recycling claims |
Foil stamping
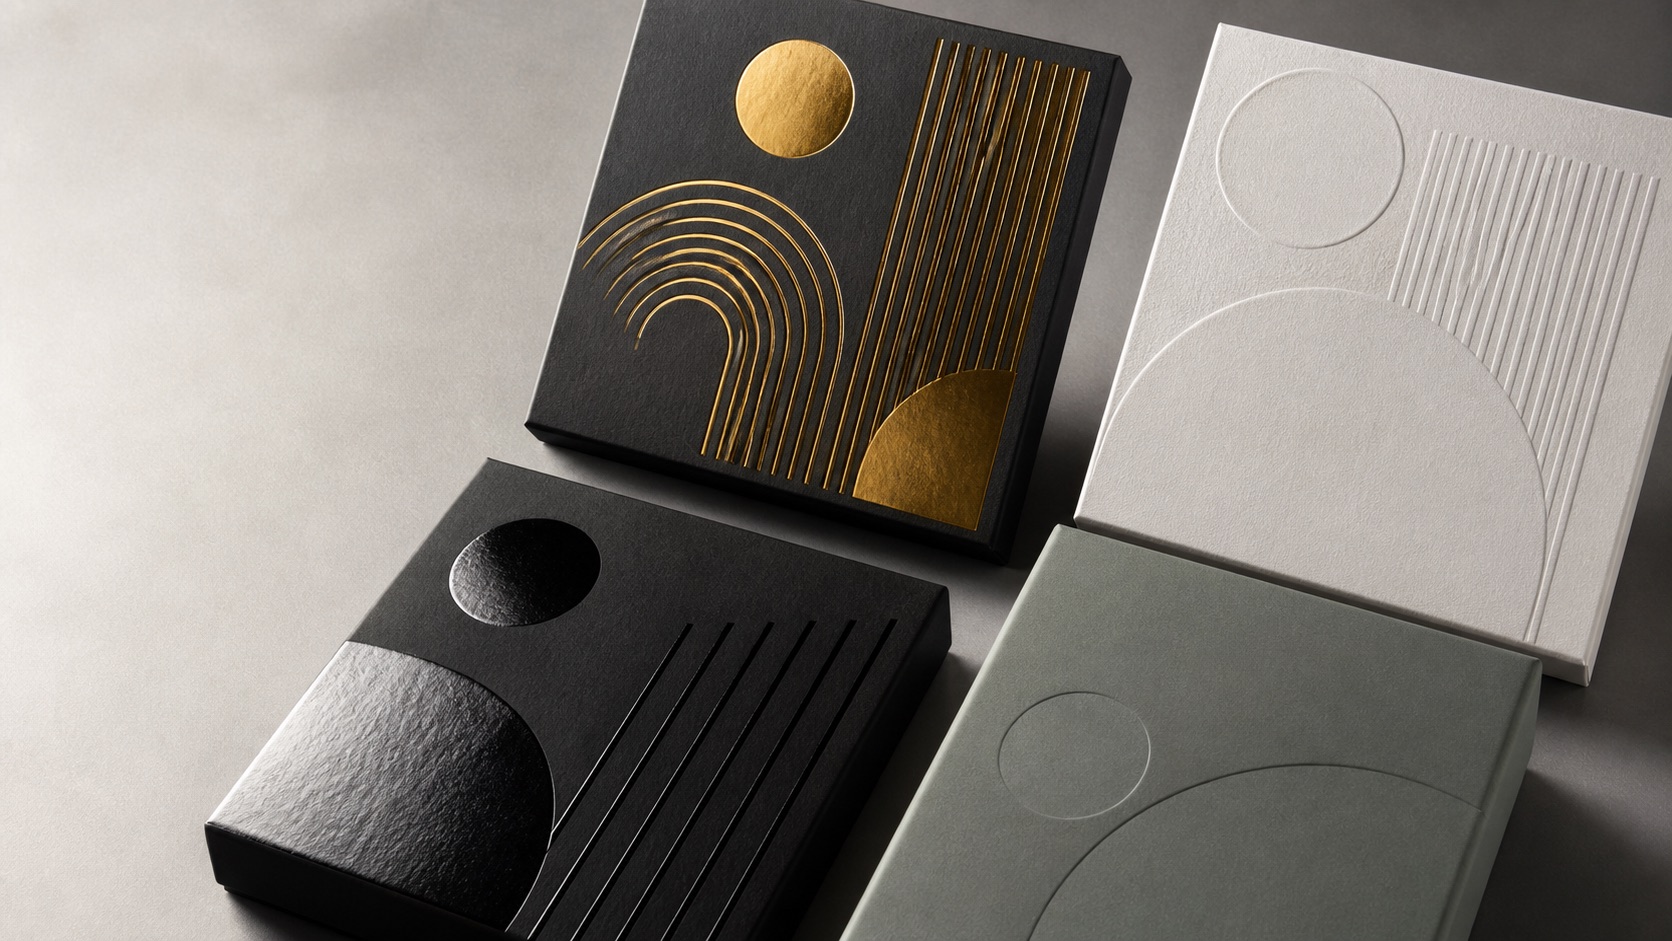
Hot foil stamping uses a heated die and pressure to transfer a foil layer to the surface. Metallic gold and silver are familiar, but pigmented, holographic and patterned foils are also available. Cold-foil processes exist for suitable print workflows. Ask which process is quoted because tooling, speed, appearance and compatible substrates differ.
Foil artwork should usually be vector and supplied on a clearly named spot-color layer. Avoid extremely fine gaps, tiny reversed type and effects that cross tight folds unless the converter approves them. Define the foil manufacturer or exact reference when repeat consistency matters; “gold” is not a specification. Confirm coverage area, die count, position, registration tolerance and whether the surface below requires lamination or another treatment.
Embossing and debossing
Embossing raises the surface; debossing presses it inward. A blind emboss uses no ink or foil and relies on light and shadow. Registered emboss aligns the relief with print or foil. Multi-level dies create more sculpted effects but increase tooling and setup demands.
Depth depends on paper, board construction, die design and artwork. Fine detail can disappear on heavily textured or soft paper. Deep relief near edges, scores and glue flaps can distort folding. On rigid-box wraps, the relationship between the wrap and board affects the final feel. Approve the actual paper and construction, not only a loose embossed sheet.
Spot UV and high-build effects
Spot UV places a glossy cured coating on selected graphics. Over a matte background it can create strong contrast without adding a new color. Raised or high-build variants create a tactile deposit. The artwork is normally a separate vector mask with solid shapes.
Registration is visible when the gloss is meant to align exactly with small print. Highly textured stock may reduce the mirror-like surface. Coating across folds can crack or look uneven. Check rub and blocking—the tendency of stacked surfaces to stick—especially with heavy coverage. If the job includes both foil and spot UV, define the production sequence because one surface can affect the next operation.
Varnish and aqueous coating
Varnish and water-based coatings can protect print and set a gloss, satin or matte appearance. They are often less dramatic than lamination and may suit cartons that need general rub resistance. Performance depends on chemistry, coverage, substrate and curing. Keep glue areas free of incompatible coatings or confirm a tested adhesive system.
Ask what the finish is expected to do: resist dry rub, wet rub, fingerprints, grease or general handling? “Protective coating” is too vague. For products exposed to moisture, oils or refrigeration, provide the actual conditions and request a relevant test.
Matte, gloss and soft-touch lamination
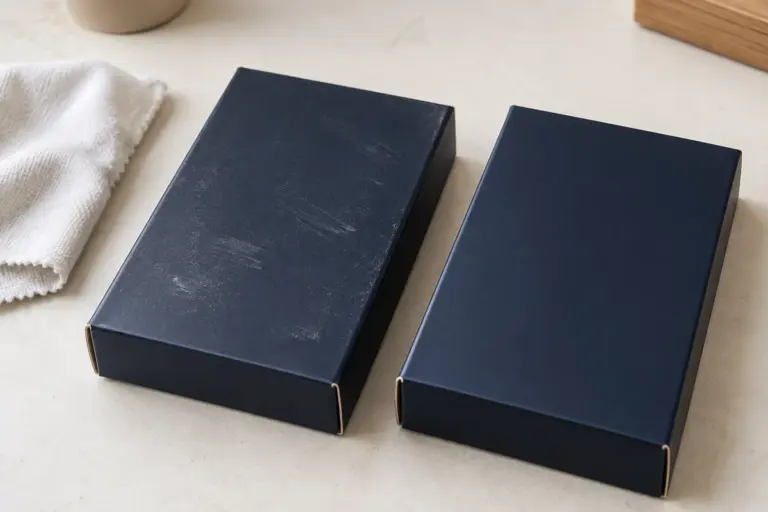
Film lamination bonds a thin film over the printed sheet. Gloss film increases saturation and reflection. Matte film lowers glare and often creates a smooth premium surface. Soft-touch film adds a velvety hand feel. Anti-scuff matte options may be useful for dark solid colors that otherwise mark easily.
Lamination changes more than appearance. It affects fold cracking, glue, foil adhesion, scuff behavior and the material composition of the package. Confirm film type and thickness, surface energy, finish compatibility and any required tests. Do not describe a laminated carton simply as “plastic-free” or make broad recyclability claims without reviewing the complete structure and local acceptance.
Prepare finish artwork correctly
Put each special operation on a separate, clearly named layer: for example FOIL_GOLD, EMBOSS or SPOT_UV. Use vector shapes at 100% tint unless the supplier requests something else. Keep dieline, artwork and finishing layers distinct. Do not simulate foil with a gradient and expect the printer to infer the stamping mask.
Packaging preflight should check color names, overprint, bleed, image resolution, ink limits and special layers. Esko’s packaging prepress guide identifies varnish, foil, embossing and white ink as operations that require separate, correctly defined channels or layers. Supply a low-resolution visual reference alongside the production file so intent is clear.
Sample and approve finishes
- Review existing physical samples on the same or similar paper.
- Approve the finish reference, coverage and artwork feasibility.
- Check a flat proof for placement and content.
- Approve a physical prototype for fold, registration and tactile result.
- For high-risk work, approve a production-line or pre-production sample.
- Retain a signed golden sample and define acceptable variation.
Judge the assembled box, not only the flat sheet. Look at scores, wrapped corners, seams, rub points and surfaces that touch during packing. Cycle the closure. Stack samples under realistic pressure. A finish can pass a visual review and still fail in assembly or freight.
Control cost without losing the idea
Cost is influenced by die or screen tooling, setup, coverage, number of positions, run size, substrate compatibility, registration and extra spoilage. A single well-placed foil area often produces a stronger hierarchy than several scattered stamps. Blind emboss on a good specialty paper may replace print and film. A protective varnish may be more appropriate than lamination when the goal is handling rather than a particular tactile effect.
Ask for alternatives against the same objective: “premium metallic focal point with reliable registration” or “dark matte surface that resists scuffing.” The converter can then compare foil types, paper choices or anti-scuff films. Review total unit and tooling cost using our custom packaging cost guide.
Frequently asked questions
Can foil and embossing be combined?
Yes. Registered foil embossing can align metallic transfer with relief, but it requires suitable dies, paper and registration control. Approve a physical sample.
Is spot UV the same as gloss lamination?
No. Spot UV is applied selectively; gloss lamination covers the full sheet. They have different artwork, surface and material implications.
Why does soft-touch packaging scuff?
Some soft-touch surfaces show handling marks, especially over dark solids. Ask for anti-scuff options and run a rub/packing test on the real construction.
Which finish is most sustainable?
There is no universal answer. Evaluate material addition, coverage, performance, production waste and end-of-life in the target market. Use specific, substantiated claims.
Specify the effect, surface and acceptance standard
Packaging For provides foil stamping, embossing, debossing, spot UV, varnishing and lamination across folding cartons and rigid boxes. Upload your artwork or visual direction through our custom packaging quote form, along with box style, paper, quantity and destination. We can recommend a finish stack and physical sample route before production.