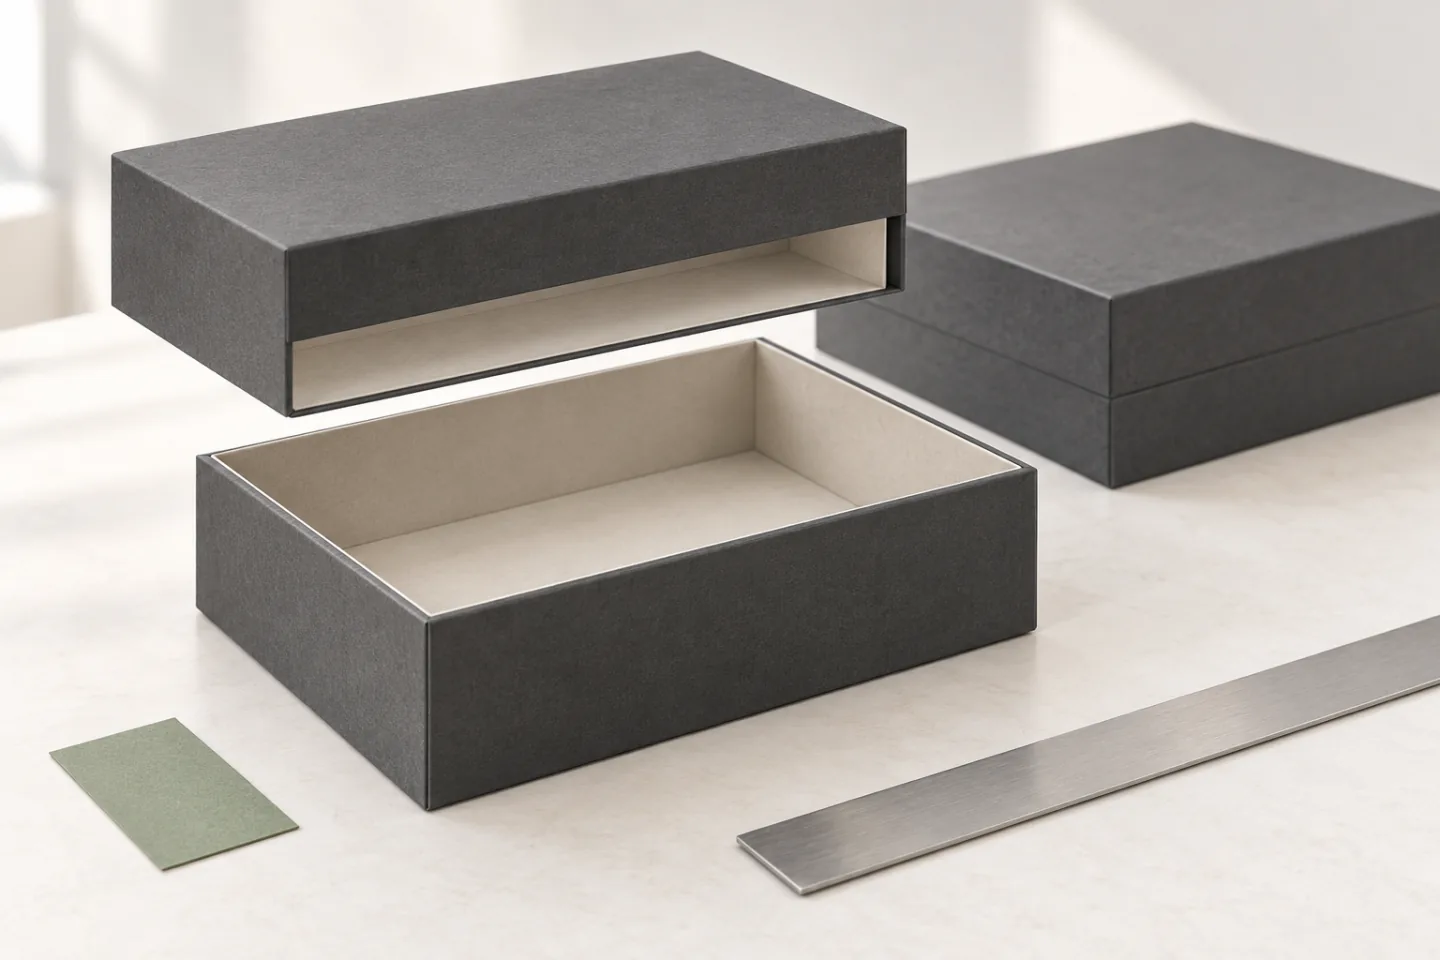
Rigid Box Lid Fit: Checking Tightness Before Production
A lid that behaves well on an empty sample may change after the insert and product are loaded. Keep both conditions in the approval record.
Approve a two-piece rigid box with its finished lid, base, insert and intended contents. Review how the empty box opens, then repeat the same check after loading. Record where the lid catches, how it seats and whether loading changes the fit.
There is no useful universal instruction to make every gift box “tight.” A jewelry box and a wide electronics presentation box need different handling. The specification should describe the intended opening experience and identify the physical sample that represents it.
Define the opening experience before discussing clearance
Tell the supplier how the recipient should use the package. Will the base rest on a table while the lid is lifted? Should part of the base remain exposed for a grip? Will the customer remove a shallow lid or lift one that covers most of the base?
Also describe the packing operation. A fulfillment team that closes hundreds of boxes needs to know whether orientation matters and whether each lid can be matched with any base in the batch. A single hand-selected pair cannot answer that second question.
For structure selection, begin with our rigid-box buyer's guide. The checks below concern a separate lift-off lid and base. Hinged magnetic boxes and drawer boxes need different approval actions.
Check the completed contact surfaces
A plain structural sample can help establish size and opening direction. Confirm which materials and operations it represents before treating its fit as final.
For the finished review, identify:
- the board and wrapping-paper references;
- the completed rim and wrapped corners;
- the intended lid overlap or exposed base;
- the fitted insert and any raised accessories;
- any coating or finish on surfaces involved in opening.
Measure and review the converted components rather than relying only on a drawing of the bare board. Ask the supplier which dimensions control the fit and how those dimensions will be checked after wrapping.
Environmental conditions also matter when comparing paper-based packaging. ASTM's public description of D4332 explains that temperature and relative humidity can affect packaging materials and the repeatability of measurements. For a project requiring controlled testing, agree on conditioning with the supplier or laboratory. A sample kept in an office and one taken directly from a different storage environment may not provide a fair comparison.
Review the empty box with a consistent action
Place the base on the intended supporting surface. Use the agreed grip and opening direction, and keep the component orientation identifiable. Avoid squeezing the walls to make a difficult lid pass: that changes the condition you are trying to judge.
Close and open the sample while watching the whole movement. Note whether the lid starts squarely, drags along an edge, catches at one corner or stops before reaching the intended position. Check whether the closed lid sits evenly and whether its removal distorts the rim or wrap.
Describe the location and stage. “The lid catches at the front corner as it reaches the base” is more useful than “too tight.” A photo can identify the point, while a short video can show an intermittent movement. Keep the physical sample for the supplier's review.
Use normal support for the loaded base. Suspending a filled box by a removable lid is not a general fit check; carrying performance requires its own approved construction and method.
Repeat the check with the complete packed product
Load the product in its intended orientation with the insert, protective bag, tissue, card and accessories. Use the version that will be shipped, or record each substitute used during development.
Watch for changes that were absent in the empty sample. An insert can stand above the intended height, a loose accessory can become trapped near the rim, or a protective wrap can occupy space that the initial sample did not include. Record the observation before assuming the lid itself needs enlargement.
Then remove the product. Check whether the buyer can reach the item and whether the insert moves with it. A box can close correctly but still be awkward to unpack. Those are separate acceptance points and should be recorded separately.
If your products have dimensional variation, provide representative examples or agreed maximum and minimum dimensions. A sample approved around one unusually small product may leave the normal production range untested.
Turn subjective feedback into a sample record
Use a record like this when reviewing a revised sample. The examples are prompts for observation, not universal pass/fail limits.
| Review point | Record on the sample sheet | Evidence to retain |
|---|---|---|
| Component identity | Lid, base and revision references | Labeled photographs and sample IDs |
| Empty closing | Where contact or resistance begins | Observation and short video if needed |
| Final seating | Agreed closed position and alignment | Views of all sides |
| Opening | Support, grip and direction used | Approved action and any difficulty |
| Loaded fit | Product, insert and accessory versions | Loaded configuration photograph |
| Product removal | Access and insert movement | Approved removal sequence |
| Storage condition | Condition before review | Relevant temperature/humidity record where required |
| Acceptance | Accepted features and outstanding changes | Reviewer, date and revision |
Mark unresolved items explicitly. Approving the artwork should not be read as approving an uncorrected fit issue. Likewise, accepting the plain structure should not silently approve the finished wrapping and surface appearance.
Keep component matching clear during production
Ask whether lids and bases must be interchangeable or will be produced and packed as identified pairs. If interchangeability matters, include it in the inspection plan and ask the supplier how it will be verified across the agreed samples.
Retain samples from accepted production as well as development. If a later batch behaves differently, the comparison should show which revision, materials and packed configuration were approved. Reference photographs help, but they cannot reproduce the feel of the opening action.
A design change should trigger a focused review. For example, a new insert that increases the packed height needs another loaded closure check even when the lid artwork is unchanged. Reconfirm the affected feature rather than relying on the previous order number alone.
Send the supplier a fit brief that can be acted on
For a new custom rigid box, provide the product dimensions and weight, insert arrangement, desired lid depth, intended grip and packing method. Add the quantity, artwork status and destination so sampling and production can be discussed together.
For a problem sample, identify the component revision and show the point where the movement changes. Keep both the lid and base available; sending only the lid removes half the fit relationship from the investigation.
PackagingFor can review the proposed structure and sampling requirements from those inputs. Request a quotation with the product and opening requirements, and confirm the approval record before authorizing production.
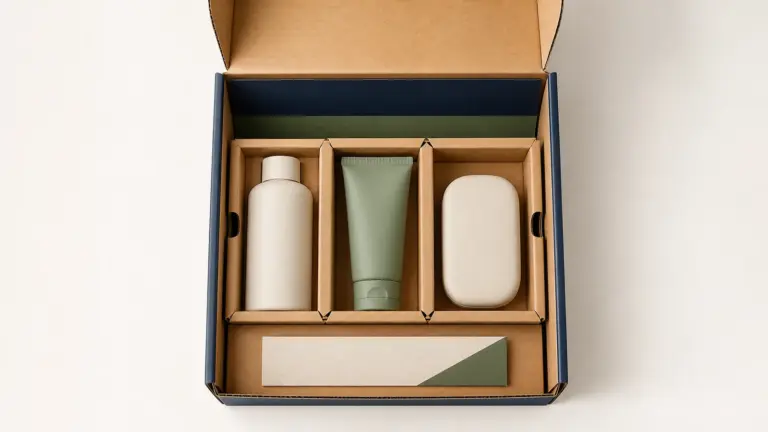
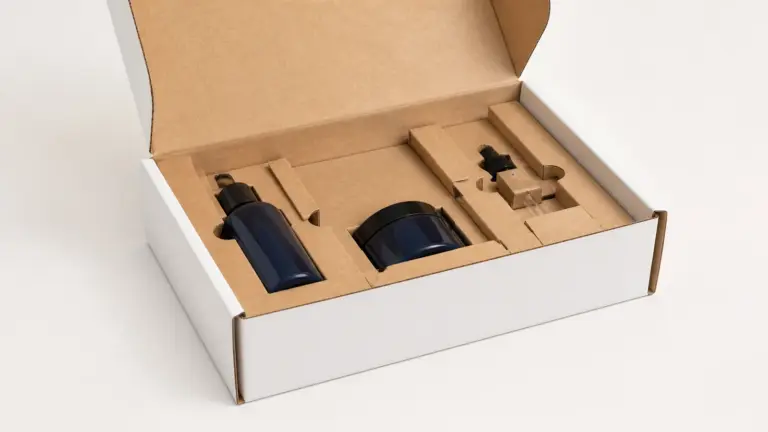
Featured image: AI-generated editorial illustration, not a customer project, approved sample or production-test result.