
Carton Box Design and Packaging Dieline Guide
Prepare production-ready carton box design files with the correct dieline, bleed, safe areas, color, barcode, finish layers and prepress checklist.
Quick answer: A production-ready carton box design starts with the manufacturer’s approved dieline—not a decorative mock-up. Build artwork at 100% scale, protect critical content with safe areas and separate finishes into named vector layers. Approve structure before final artwork.
This guide explains what belongs in a box dieline, how artwork should be organized and which errors commonly delay prepress approval.
What is a packaging dieline?
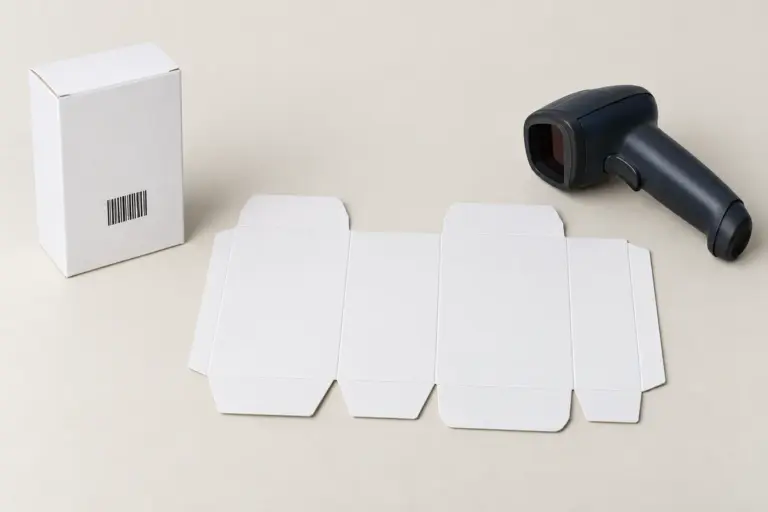
A dieline is the flat manufacturing map of a package. It identifies panels, cut edges, creases, glue flaps, slots, windows, perforations and other structural features. When folded, those two-dimensional elements form the three-dimensional box. A 3D rendering can help stakeholders understand the result, but it does not replace the production dieline.
Dielines are not automatically interchangeable between manufacturers. Board caliper, grain or flute direction, equipment and gluing allowances can change a blank even when the internal dimensions match. Treat a downloaded box dieline template as a planning reference until the converter confirms it.
Start carton box design with the product
Confirm the real product’s maximum dimensions, packed weight, orientation and vulnerable areas before creating the artwork. Agree on internal L × W × H, material, box style, insert and filling method. Then ask the manufacturer to issue a controlled dieline with a project name and version number. Our custom box dimensions guide explains how to prepare measurements consistently.
Approve a plain structural sample when fit, closure or assembly matters. Check the front panel, loading direction, opening and inside/outside surfaces. Designers should not move creases or resize glue flaps; structural changes return to the packaging engineer and create a new version.
Carton, mailer and rigid-box files are different
| Packaging format | What the design file must control | Typical risk |
|---|---|---|
| Folding carton | Cut, crease, tuck, glue flap, grain direction and compact panel layout | Wrong panel orientation, crease cracking or poor closure fit |
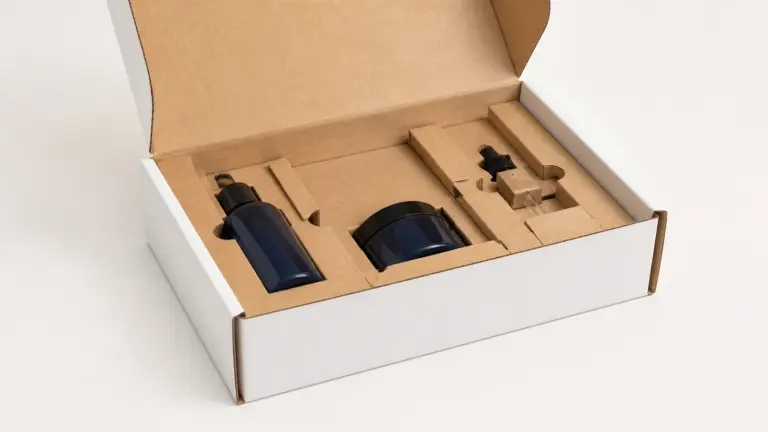
| Corrugated mailer | Cut, score, slots, locking tabs, flute direction and inside/outside print | Artwork crossing scores or graphics misaligned after assembly |
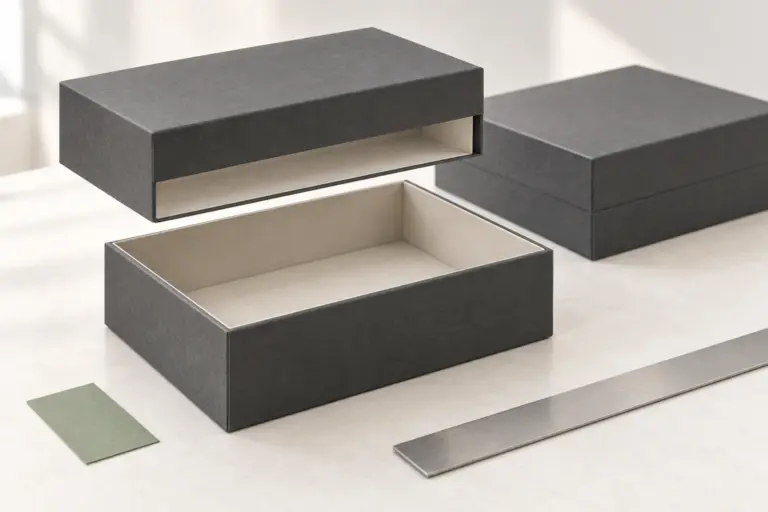
| Rigid box | Greyboard parts, wrap sheets, turn-ins, seams, lid/base fit and insert | Assuming one flat dieline represents every wrapped component |
| Fold-flat rigid box | Panels, hinge areas, corner tapes, magnets and assembly sequence | Finish or copy placed across working hinges |
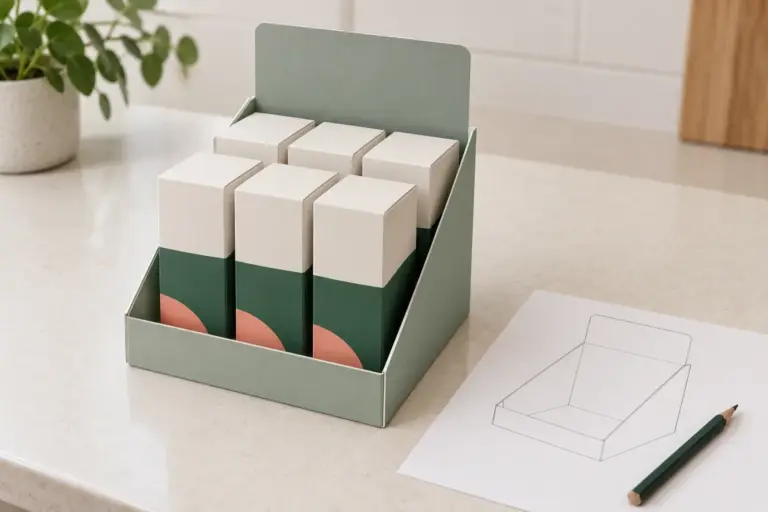
Use the correct commercial page when the structure itself is still being selected: compare custom folding cartons with the broader range of custom foldable boxes. This article covers artwork preparation after the format has been chosen; it is not a substitute for structural engineering.
Understand dieline lines and zones
| Line or zone | Production purpose | Artwork action |
|---|---|---|
| Cut line | Final die-cut edge | Extend continuous backgrounds beyond it into bleed |
| Crease or score | Where board folds | Keep small text and critical marks away |
| Perforation | Controlled tear or removable section | Avoid essential copy across the tear path |
| Glue area | Adhesive bond zone | Keep incompatible ink, coating and film clear |
| Bleed | Artwork extending past the final edge | Continue images and colors to the required boundary |
| Safe area | Buffer inside cuts, folds and openings | Keep copy, codes and important marks within it |
| Finish mask | Foil, spot UV, emboss, white ink or another operation | Supply a separate named vector layer |
Line colors and names vary, so follow the supplier legend instead of assuming red always means cut. Technical lines may remain as a named non-printing separation or be supplied separately; they must never print accidentally.
For corrugated designs, a recognized style code can clarify the general construction, but it still does not define every production allowance. The FEFCO Design Style Library is an internationally applied system for communicating common corrugated box types and dimension conventions.
Bleed, safe area and 100% scale
Artwork that meets a cut edge needs bleed because cutting has normal positional variation. Approximately 3 mm (about 0.125 in) is common in packaging workflows, but the manufacturer’s specified value controls. Adobe defines bleed as artwork outside the printing boundary or trim area and recommends confirming the required amount with the print provider; see Adobe’s PDF marks and bleed guidance.
Safe area is different: it is the internal buffer protecting essential content from cuts, scores, thumb notches, windows and glue seams. A file can have adequate bleed and still fail preflight because a barcode or legal line sits on a fold.
Place artwork at the issued dimensions and units, verify a known panel measurement and do not scale the dieline to fit an artboard. Use a folded paper mock-up or 3D reference to confirm panel orientation, while treating the flat file as the production authority.
Set up color, images and fonts for print
Prepare process artwork in the requested CMYK profile and identify each spot color with one exact, consistent name. RGB effects can shift during conversion. White coated paperboard, natural kraft, recycled board and corrugated liners reproduce the same artwork differently. For color-critical projects, provide a recognized physical reference or spot-color target and agree on the proof method.
Use vector artwork for logos, rules and small type. Raster images need sufficient effective resolution at final size; 300 ppi is a common offset-printing starting point, but the process and viewing distance determine the requirement.
Package linked assets or embed them as requested. Outline fonts when permitted, but retain an editable master. Check minimum type size, line weight, reversed text, overprint and ink coverage with the printer. Our packaging printing guide gives more print-process context.
Prepare barcodes and regulated copy carefully
Generate barcodes from verified data, preserve the required quiet zones and position them on a stable panel away from folds, seams, curves and highly reflective finishes. Do not stretch the symbol or change its proportions. GS1 US recommends high-resolution artwork and printing, sufficient clear space on both sides and strong contrast; black bars on a white background are the safest common combination. Review the current GS1 US barcode placement guidance, then verify a printed production sample for the intended retail system.
QR codes also need adequate size, contrast and clear space, but one phone scan is not formal verification. Lock ingredients, warnings, claims and other regulated copy after the brand’s compliance review; the factory does not automatically validate every market-specific statement.
Create separate layers for special finishes
Use one clearly named vector layer or spot channel for each operation—for example FOIL_GOLD, EMBOSS, DEBOSS, SPOT_UV, WHITE_INK or CUTOUT. Use solid masks unless the converter requests screened values. A visual reference PDF can show the intended appearance, but it should not replace the editable production mask.
Keep finishes away from folds and edges according to supplier clearances. Confirm registration and operation order where effects overlap; foil crossing a crease can crack or register inconsistently.
Common carton artwork rejection reasons
- The artwork uses a generic or outdated dieline instead of the approved supplier version.
- The file was scaled, or its units do not match the specification.
- Panels are upside down after folding, or inside and outside artwork are reversed.
- Backgrounds stop at the cut line instead of extending through bleed.
- Copy, barcodes or logos sit too close to cuts, folds, windows or glue seams.
- RGB images, duplicate spot colors or unintended overprint settings remain.
- Fonts or linked images are missing, or raster resolution is too low at final size.
- Foil, UV, emboss or white ink is flattened into the printed artwork.
- Hidden old art, duplicate dielines or obsolete SKUs remain in the file.
- The PDF preview and editable source file do not show the same version.
Carton box design preflight checklist
- Confirm the manufacturer, dieline version, finished internal size and units.
- Lock and label the technical structure layer.
- Check every panel’s orientation, inside/outside position and opening direction.
- Extend continuous artwork through the required bleed.
- Keep essential content inside supplier-defined safe areas.
- Keep glue zones and functional closures clear where required.
- Use approved CMYK settings and consistent spot-color definitions.
- Confirm effective image resolution at 100% production size.
- Package or outline fonts according to the agreed workflow.
- Review overprint, knockout, transparency and total ink coverage.
- Check barcode data, dimensions, quiet zones, contrast and placement.
- Supply every special finish as a separate named vector layer.
- Remove hidden old artwork, unused spots and duplicate dielines.
- Supply the requested AI or PDF production file plus a visual reference.
- Name files with brand, SKU, component, version and date.
Use a controlled proof and approval sequence
Review a visual PDF for copy and panel orientation, then complete technical preflight. Use a suitable color proof when color matters and a folded sample when fit, finish placement or orientation carries risk. State what each approval controls.
After approval, freeze the file. Any structural or copy change creates a new version and another check. Avoid filenames such as final-final-v7; a format such as Brand_SKU_Carton_v05_20260818 makes approval history easier to audit.
Frequently asked questions
Can I use a free box dieline template?
Use it for concept development only. The selected manufacturer should confirm or rebuild the structure for the actual board, equipment, tolerances and closure before production artwork is released.
Can I design packaging in Photoshop?
Photoshop is suitable for raster imagery, but a vector layout application is generally better for dielines, type, spot colors and finish masks. Submit the format requested by the printer.
How much bleed does a carton box need?
Use the manufacturer’s specification. Around 3 mm or 0.125 in is common, but material, process and job requirements vary.
Should the dieline be visible in the final PDF?
Follow the printer’s workflow. It may remain as a named non-printing or overprinting technical layer, or be supplied separately. It must not appear as unintended printed artwork.
Can I change the box size after artwork approval?
A size change creates a new structural file and requires artwork reflow, preflight and approval. Never scale approved artwork without structural review.
Send a quote-ready design package
Packaging For manufactures folding cartons, corrugated mailers, rigid boxes and other custom paper packaging. Send your product dimensions, box style, artwork status, finishes, quantity and destination through our custom packaging quotation form. We can align the production dieline, artwork requirements and sample path before release to mass production.